When you own a luxury car like a BMW, any scratch or mark that appears on your paintwork can be a real annoyance, especially if it's a stone chip that's snuck in out of nowhere. Many of us often avoid repairing a scratch on a BMW for fear that it will be a costly repair job, however that doesn't need to be the case.
BMWs are renowned for having expensive parts, and often people wrongly assume that you'll need to replace the whole panel of the car for a chip or scratch.
However, this isn't the case. Fixing a car scratch on your BMW is easy with Chipex touch up paint. We're taking you through the 6 easy steps that will guide you through your DIY job.
Repairing a Stone Chip
One of the most annoying marks to find on your car is a stone chip. The worst is when you hear it bounce up and hit your car and think to yourself ‘ouch, that sounds expensive'. The good news is that repairing a stone chip couldn't be easier or cheaper with Chipex. All you need to do it follow the 6 easy steps to fixing a car scratch below, to fix a stone chip in no time.1. Find your BMW car colour code with Chipex
Chipex is renowned in the industry for repairing car scratches, owing to the unique colour match that offers an immaculate finish. Whatever colour your BMW is, with a paint that's exactly matched to your car, you'll get a flawless finish for a fraction of the price of taking your car to the garage. The first step is to check the colour code of your car and order the perfect repair kit for your motor.2. Clean your BMW
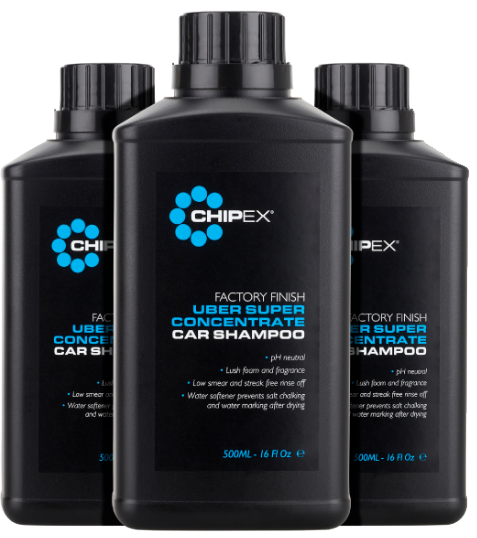
The next step is to make sure the BMW is clean and doesn't have any dirt or grime on it that might cause a further scratch or dull the shine of the car. Be particularly careful near the scratched area, as rubbing too hard may cause parts to chip away and look tired. Instead, gently clean the affected area with a good quality car shampoo that will remove any wax, sealand and polish that may interact with the paint.3. Get Your Rubber Gloves On
Now you've prepper your BMW, it's time to get the gloves on and examine the affected areas properly before applying paint. Be sure there are no wet patches, or broken paint cast offs before you get ready to put on the first layer of paint. If any metal is exposed, you need to act quickly, as given half the chance it will start to rust.4. Paint Layer One
After you've let your car dry properly, it's time to start applying the paint. Now your BMW is sparkling clean, you can be sure that the paint will attach correctly. Shake the bottle well and apply the paint with a Chipex paint applicator brush. These brushes are ideal for dainty paintwork and will ensure that you get a seamless finish. If the car has suffered from road rash, or has bumps and uneven parts, then you may want to use your thumb to smear the paint in fully.5. Apply the Blending Solution
Now you've added your first layer of paint, just leave it to dry. This takes no longer than 5 minutes and then you can start applying the blending solution. Check that the paint is dry to the touch before you start, but once confirmed, you can wipe the blending solution on with a cloth with light pressure. This allows the solution to blend the paint, giving that all-important finish.6. Polish
If the scratch looks adequately covered then you can now start to polish away. Using the finishing polish, apply a small amount to a microfibre cloth and rub the painted areas. Once you have created a nice finish, simply rub gently with a clean cloth to remove the haze and shine the car. With this method, repairing a car scratch on your BMW couldn't be easier. For more information, take a look at our demo video detailing how to fix a car scratch or visit our recent blog post on how to repair deep scratches on your car.Find Your Car's Paint Colour
or Manufacturer
- Choosing a selection results in a full page refresh.
- Press the space key then arrow keys to make a selection.

